Note : this scheme has the instructor using the buddy box
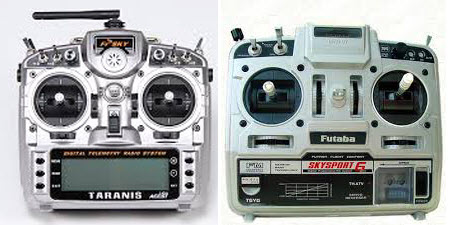
A better Tx with a better Balance Bar
My son is still struggling to get good control of his plane and I reckon it is partly to do with his old buddy box which has poor sticks and no balance bar.
I thought I would make the Taranis the student transmitter and the old 35Mhz Futaba buddy box the instructor “transmitter” – but the Taranis will be transmitting.
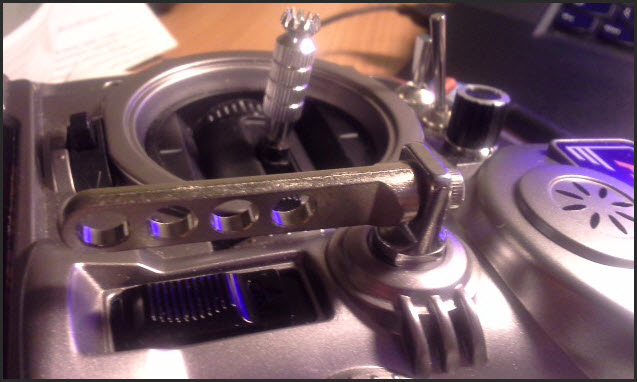
I also wanted to be able control the handover from the buddy box and to be able to put my instructor Tx on the ground unattended to hand launch my son’s plane.
Refer to this article about the basics of Taranis and buddy box / trainer mode
OpenTX 2.x and TR1 – 16
This can now be done with OpenTX 2.x because the buddy box / trainer is always transmitting signals TR1 – 16 to the Taranis even if the switch controlling the student transfer is not active – this in effect means that a buddy box switch can be used to control the hand off from instructor to student => the instructor can use the buddy box.
Smart Trainer Switch ( sort of )
I initially tried using the channel 5 switch on TR5 and this worked well but I wanted to try something along the lines of the “Smart Trainer Switch”. This forum post scheme is to transfer control to the instructor when there is a difference in the inputs between the student and instructor. This would allow the instructor to “follow along” with the student but in my ( fairly limited ) experience there will almost always be a difference – for example the instructor may use rudder input whereas the student probably won’t.
So I settled for a scheme where a significant input of the elevator, aileron or rudder will transfer control to the Instructor and it will remain with them until switch 5 on the buddy box is cycled.
Sticky Switch
One of the new features in OpenTX2.x ( maybe 1.9x ) is the Sticky Switch. This is a Logical Switch which is latched into position by one action and then unlatched by a different action. In the example below moving to SA↑ latches the switch and moving to SB↑ will unlatch it. The latching action will last for 3 seconds and will only start 4 seconds after SA entered the SA↑ state.
No latching will take place unless switch SC is in the SC- position

Note that the sticky switch is set by the transition of the trigger and release values into the required state. So for example if SA↑ is left in place and SB↑ is applied then the latch will be reset and SA↑ needs to be removed and re-applied before the latch will set again.
The Scheme
Step 1
Add TR1,2, 4 ( your channels may vary ) to a new virtual channel as shown below. These represent the trainer elevator, aileron and rudder. The throttle is deliberately left out of the equation. Using a channel like this means you can just use one formula to detect stick movement.
In my case Channel 14 now represents an indication of how far the instructor sticks ( in my case on the buddy box ) are away from their centres.

In my case I only want this feature to work in “Normal Flight Mode”
Step 2
There is no option to use the TR5 signal in the logical switches so it must be mapped to a channel that can in turn be referred to. In my case I am using channel 13

Step 3

Create a Logical Switch ( L9 for me ) that detects movement by the instructor. I selected a value of 25% as all 3 axis are added together and you may have some trim in. Its a matter of trail and error. I also only want this to be active with SG↑ as I use SG to determine the trainer mode I am using.
Then create a Logical Switch ( L10 ) that detects that the TR5 switch ( Channel 13 for me ) has been cycled. In my case it is either +100% or -100% so I used < 10% as a trigger.
Finally create a Sticky Logical Switch that is set by L9 ( Instructor movement ) and reset by L10 ( TR5 switch cycling )
The Result
If the instructor moves their sticks in “Normal Mode” with SG↑ then they get control. If they cycle switch 5 on the buddy box with the sticks centred then control reverts to the student using the Taranis
I was a bit worried that if the buddy lead as pulled out you could be left with no control but it seems to revert back to the Taranis. You should test this for yourself.

 There is a good thread here – http://www.modelflying.co.uk/forums/postings.asp?th=104775&p=2